
Last updated October 31, 2026
 Wrought iron
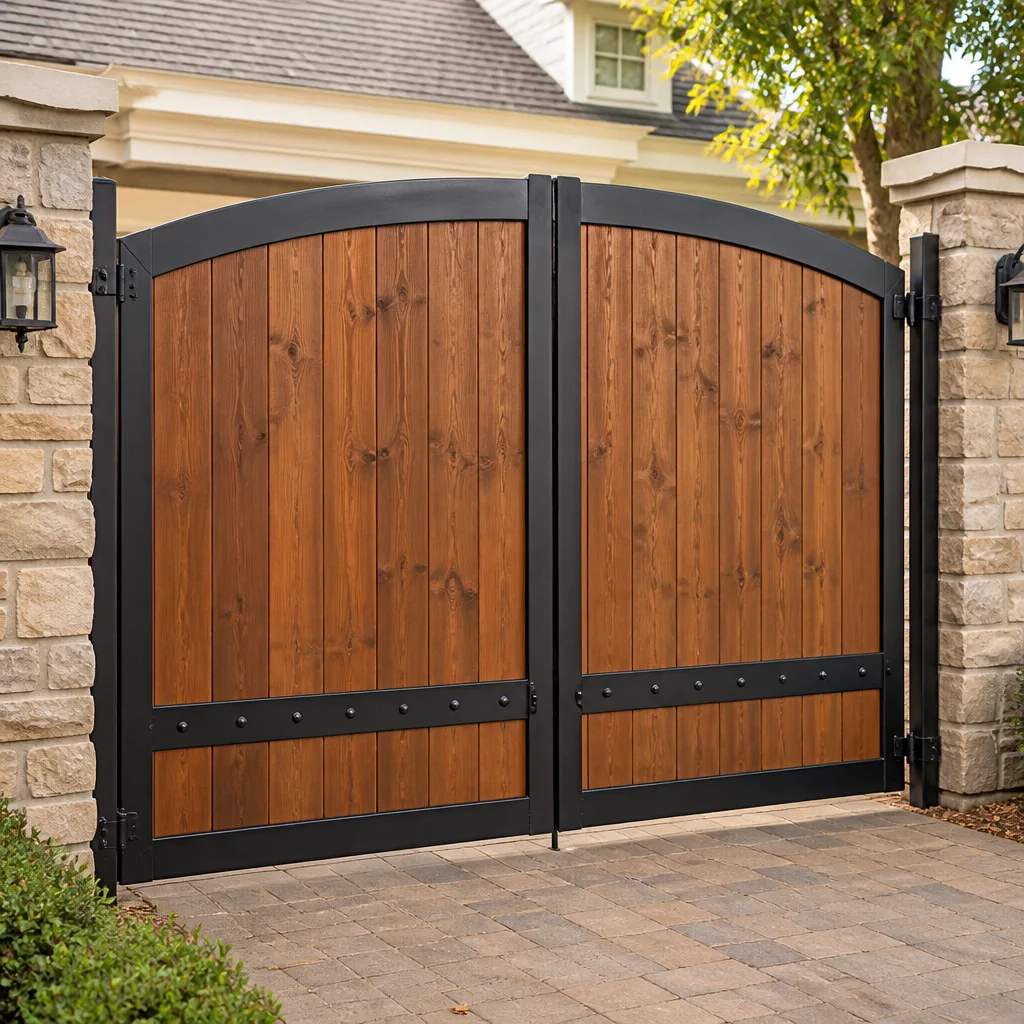 Wood & steel frame
 Farm & ranch
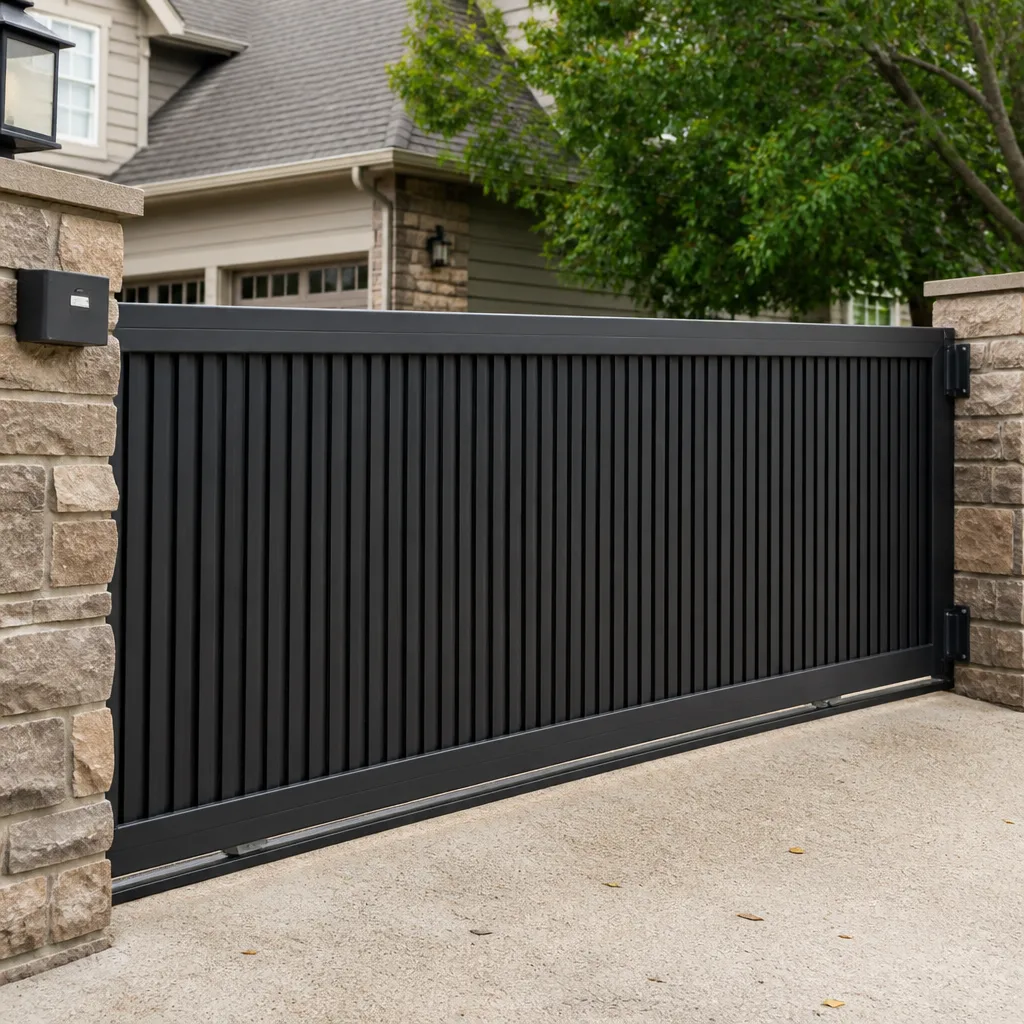 Sliding driveway gates
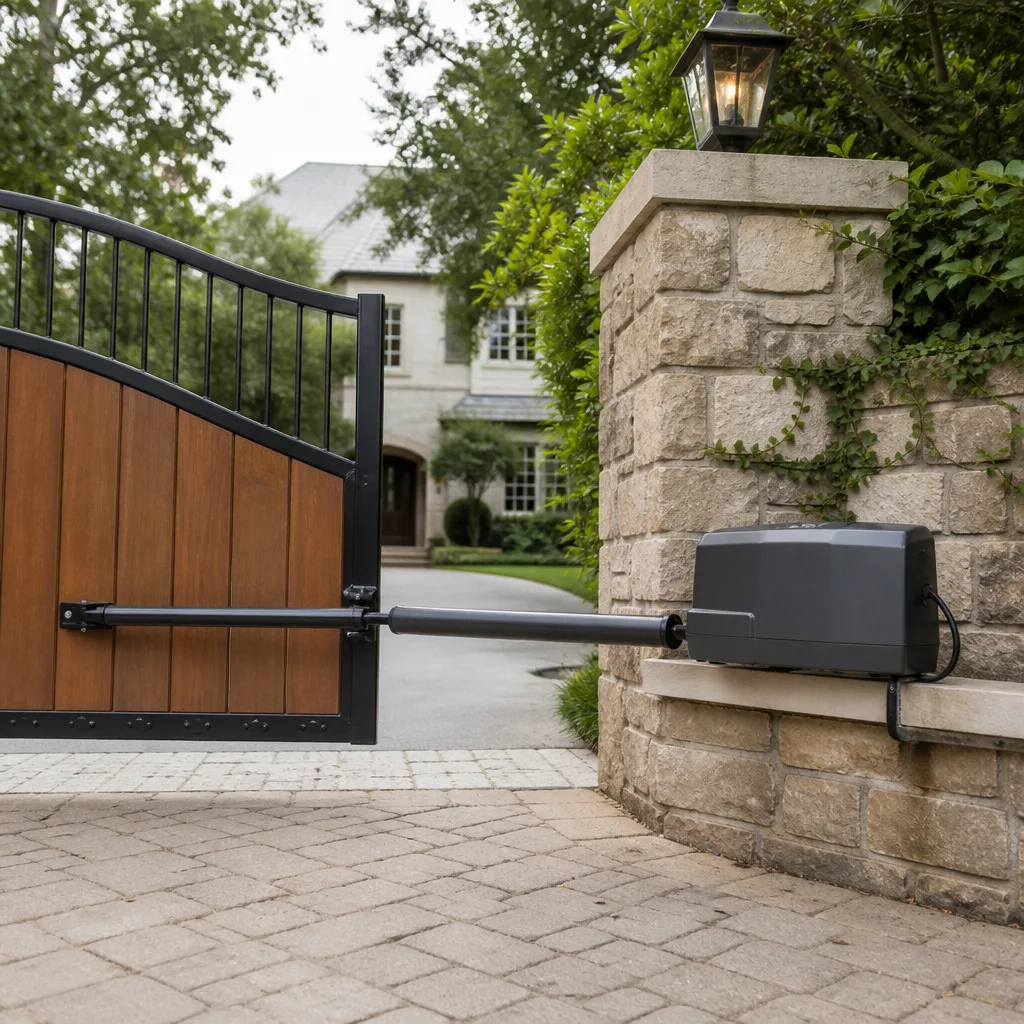 LiftMaster operators
Free on-site gate assessment - hinges, posts, and your LiftMaster or Nice gate operator checked before anything is quoted
The assessment is free and the quote is the invoice.
Get your free estimateGate Repair Maintenance Checklist for Tampa Homeowners
Most gate maintenance checklists you’ll find online were written for temperate climates. Follow one in Tampa and you’ll skip the three checks that matter most before a tropical storm arrives: corrosion on the control board contacts, degraded capacitor seals from daily humidity, and track alignment shifted by saturated soil. This guide gives you a sequence built for our subtropical reality, not a repackaged national template. For Gate Repair Troubleshooting: Common Problems and How to Fix Them, see our dedicated guide. You’ll learn what to inspect monthly, quarterly, and seasonally, which products actually hold up in Florida heat, and how to document everything so a future repair takes minutes instead of hours.
Styles & brands we work with
Quick Answer
A gate maintenance checklist for Tampa homeowners should prioritize monthly visual inspection of hinges, tracks, and electrical connections; quarterly cleaning and lubrication with humidity-rated products; and a specific pre-hurricane and post-storm sequence covering anchoring, drainage, and sensor alignment. The three checks most homeowner checklists miss are control board contact corrosion, capacitor seal degradation, and track settlement after heavy rain.
Table of Contents
- The Monthly Inspection: What to Check Every 30 Days
- Quarterly Maintenance: Lubrication, Cleaning, and Electrical Checks
- Pre-Hurricane Gate Preparation: The Tampa-Specific Sequence
- Post-Storm Gate Inspection: What to Check After Heavy Rain
- Lubrication Schedules for Tampa’s Heat and Humidity
- Electrical and Sensor Checks: Quarterly Lightning Protection Verification
- Maintenance Documentation: Building a Warranty-Ready History
- Common Mistakes to Avoid
- When to Call a Professional
- Frequently Asked Questions
- The Bottom Line
The Monthly Inspection: What to Check Every 30 Days
In Tampa, a monthly gate check is not about being thorough for its own sake. It’s about catching the small failures before they compound into a gate that won’t open the morning you’re late for work. The heat and humidity here accelerate wear in ways drier climates never see. A hinge that would last five years in Colorado can start binding in eighteen months here if the lubricant breaks down and salt-tinged air works into the pin.
Here’s the monthly sequence we recommend. It takes about 15 minutes once you know what you’re looking at.
- Manual operation test. Disengage the opener and swing or slide the gate by hand. It should move smoothly with no catching, grinding, or stuttering. If you feel resistance, the track or hinge alignment has shifted. In Tampa, soil saturation after storms is the most common cause of track shift.
- Visual sweep of mounting hardware. Look at every bolt, bracket, and weld point. On swing gates, check the hinge bolts where they attach to the post and the gate frame. On slide gates, check the track brackets and the roller mounts. Rust or loosening means the hardware needs attention now.
- Check the gate’s rest position. Close the gate fully and stand back. Look for sag at the far corner. A gate that drops even a quarter-inch is putting extra load on the hinges and the opener. In humid Tampa air, sag accelerates quickly once it starts.
- Sensor and safety loop check. Wave your hand in front of the photo eye or safety edge sensor. The gate should stop or reverse. Test the ground loop by pulling a vehicle slowly up to the gate and confirming the loop triggers opening. Florida’s lightning and salt air both stress these components.
- Listen for new noises. Run the gate through one full open and close cycle. Any new squeal, grind, or click that wasn’t there last month is an early warning. A click usually means a relay. A grind usually means a roller or hinge. A squeal means dry lubrication.
- Inspect the power connection. If the system plugs into an outlet, check the cord for cracking and the outlet for corrosion. Outdoor outlets in Tampa are under constant humidity assault. If the outlet looks discolored or the cord is stiff, have it replaced before it fails.
This monthly pass catches roughly 80 percent of the issues we see on service calls across Tampa. The remaining 20 percent are electrical failures that need a multimeter and a trained eye, but the physical checks above will keep most gates running between professional visits.
Quarterly Maintenance: Lubrication, Cleaning, and Electrical Checks
Every three months, your gate needs a deeper service. This is when you clean, lubricate, and test the electrical side with more rigor than a monthly glance allows. In Tampa’s climate, three months is also about the maximum interval between proper lubrications before products start breaking down and leaving metal-on-metal contact.
Quarterly tasks break into three groups: cleaning, lubrication, and electrical verification.
Cleaning
- Clean the track on slide gates. Debris, sand, and organic matter collect in the track. In Tampa, oak leaves and pine needles decompose into acidic mulch that accelerates corrosion on the track surface. Clear the full track length and check for debris in the wheels.
- Wipe down the photo eye lenses. A soft, dry cloth is all you need. Humidity creates a film on the lens surface over time, and a dirty photo eye is the number one cause of false obstruction errors on Tampa gates.
- Clean the control board enclosure. Open the cover and check for insect activity, moisture, and corrosion. Ants and roaches love control board enclosures in this climate. Blow out any debris with compressed air and confirm the enclosure is still properly sealed.
Lubrication
Use a silicone-based lubricant, not petroleum. WD-40 is a cleaner and a moisture displacer, not a lubricant, and it’ll strip whatever protective film you had. A heavy-duty silicone spray works on hinges and pivot points. For slide gate rollers and track, a dry lithium grease holds up better against Florida humidity. Apply sparingly. Excess lubricant collects dust and turns into sludge.
Electrical Verification
- Check the battery backup. Many Tampa gates have battery backup for power outages. Test the battery’s charge by unplugging the opener and running one full cycle. If the gate struggles or the alarm sounds, the battery is near end of life.
- Inspect wiring for UV damage. Exposed wiring jackets break down under Tampa’s intense sunlight. Look for cracking, fading, or exposed copper. This is especially important on the low-voltage wiring to keypads and photo eyes.
- Verify the auto-close timer. Set the auto-close delay to your preferred interval and confirm the gate closes smoothly on its own. A timer that’s been knocked out of sync is a security problem more than a mechanical one.
If any of these quarterly steps reveal something you’re not comfortable addressing, a specialist can handle it in one visit. For Gate Repair services in Tampa, our technicians complete this full quarterly service in about an hour, including electrical diagnostics on the control board and safety systems.
Pre-Hurricane Gate Preparation: The Tampa-Specific Sequence
Hurricanes are not a hypothetical in Tampa. Every homeowner with a gate should have a pre-storm checklist that can be executed in under 30 minutes once a watch is issued. The goal is not just securing the gate so it doesn’t become a projectile. It’s also ensuring the gate remains operable after the storm, when you may need to evacuate or allow access to emergency vehicles.
Here is the pre-hurricane sequence we recommend, in order of priority:
- Set the gate to manual mode. Most automated gate systems have a manual release. Disengage the opener before the storm. Wind loading on the gate combined with an active opener can strip the gear internals or bend the arm. A gate that’s been left in automatic mode during a storm is one of the most common repair calls we see in the aftermath.
- Secure the gate in the open or closed position. Decide based on your property. Never leave the gate free-swinging. If you secure it closed, lash the far end with a heavy-duty strap. If you leave it open, chain it to a sturdy fixed anchor. The decision depends on access needs and local flooding potential.
- Verify the drainage around the gate posts. Walk the area and clear any debris from drainage channels. A slide gate track that fills with stormwater will collect sediment, and the post-storm cleanup becomes a two-hour excavation rather than a fifteen-minute flush.
- Check the gate’s structural anchors. Push on the gate from both sides. Look for movement at the post bases. If a post shifts even slightly before the storm, saturated soil during the storm will amplify that movement and the gate may come down entirely.
- Photograph the gate and its surrounds. Document the condition of the gate, the track, the hinges, the control board, and the surrounding area. These photos are critical for insurance claims if the gate is damaged by wind, debris, or flooding.
- Turn off the main breaker to the gate opener. After you’ve moved the gate to the desired position and secured it, cut power. Lightning strikes and power surges destroy control boards even when the storm is miles away. A $12 surge protector on the outlet is not enough protection against a direct nearby strike.
The pre-storm sequence takes about 30 minutes. For electric gate systems with complex control boards, including LiftMaster and FAAC models, the power cutoff is especially important because these boards are sensitive to voltage fluctuations that happen during storms across Tampa’s power grid.
Post-Storm Gate Inspection: What to Check After Heavy Rain
After a hurricane or heavy tropical storm passes, your gate needs a full inspection before you re-energize anything. Water and wind cause damage that’s not visible at first glance. Here’s the sequence, in order:
- Clear debris from the entire gate path. Branches, palm fronds, and roofing material can wedge in the track or block the swing path. Remove everything before operating. A slide gate pushing against hidden debris bends the rack or strips the drive gear.
- Check the gate posts for settlement. Heavy rain saturates Tampa’s sandy soil, and posts can settle or lean. Look for a visible gap between the post base and the surrounding concrete or ground. Pluck a string line from the top of one post to the other. Any slope means the post has moved.
- Inspect the control board enclosure for moisture. Open the cover and look for water stains, condensation, or corrosion. If moisture is present, leave the system disengaged and call a specialist. Powering up a wet board is the fastest way to turn a $300 repair into a $1,500 replacement.
- Test the safety sensors before testing the motor. Reconnect power only after the board is dry and sensors are clean. Test the photo eyes and safety edges. If they don’t respond, don’t run the gate. A gate that runs without functional safety sensors is a liability as well as a safety risk.
- Run one full manual cycle. With the opener still disengaged, move the gate by hand through its full range. Listen for crunching or grinding that indicates debris in the track or damage to the rollers. Only after a clean manual cycle should you re-engage the opener.
- Run one full automatic cycle at reduced speed if possible. Most openers have a speed adjustment. Run the first automatic cycle slowly and watch the gate for binding or uneven movement.
If you find any moisture in the control board, settlement at the posts, or damage to the track or racks, that’s the point to call a specialist. We handle post-storm gate repairs across Tampa, and we see the full range from minor track damage to complete control board replacements after lightning strikes.
Lubrication Schedules for Tampa’s Heat and Humidity
The lubrication advice on most gate maintenance websites was written for places where the air doesn’t feel like a wet blanket from May through October. In Tampa, you need different products and a tighter schedule than the national default.
Here’s what breaks down faster in high humidity and what to use instead:
- White lithium grease. Standard white lithium is fine in a garage but breaks down quickly outdoors in Tampa. Use a marine-grade lithium grease. It’s formulated to resist water washout and last longer in high humidity. Apply to slide gate rollers and track surfaces every three months.
- Standard silicone spray. Basic silicone works but evaporates faster in Tampa’s heat. Look for a heavy-duty silicone with a higher viscosity, often labeled as “extreme weather” or “outdoor” formula. Apply to hinges, pivot points, and the opener arm linkage every 90 days.
- WD-40. Don’t. It’s a solvent and moisture displacer, not a lubricant. It’ll strip the protection you applied and accelerate wear. Save it for breaking loose a rusted bolt, then clean it off and apply real lubricant.
- Graphite spray. Graphite lubricant works well on the latch mechanisms and key cylinders. It doesn’t attract dust and holds up well in humidity. Apply to the gate latch and manual key mechanism every six months.
In our experience across Tampa, the systems that fail fastest are the ones that were lubricated with whatever aerosol was in the garage. Gate systems have high-load joints that need products designed to stay in place and resist water. Using the right product on the right schedule extends hinge life by two to three years compared to using the wrong product periodically.
If you have a Mighty Mule or Elite system, check the owner’s manual for lube points on the opener arm itself. These brands specify lubricants for the internal screw drive or arm pivots, and skipping those points shortens the opener’s life significantly.
Electrical and Sensor Checks: Quarterly Lightning Protection Verification
Florida is the lightning capital of the United States. The Tampa Bay area sits at the top of that list. Your gate’s electrical system includes a control board, power supply, sensors, and possibly a keypad or intercom. All of it is connected to low-voltage wiring that acts as an antenna for induced surges. This is not a theoretical risk. We replace control boards every week across Tampa that were fried not by a direct strike, but by a surge traveling through the ground or the power grid.
Here’s what to check quarterly:
- Verify the surge protection device. If your system has a surge protector on the power feed, check the indicator light. A dark light means the surge device sacrificed itself and is no longer protecting your board. Replace it immediately. A surge protector is a consumable part, not a permanent installation.
- Inspect the ground wire. Find the ground connection on the opener and control board enclosure. Look for a loose or corroded connection. A compromised ground wire means the surge has no safe path to earth, and the board becomes the path.
- Test the photo eye alignment. Humidity, heat, and vibration slowly move photo eyes out of alignment. Test by blocking the beam and confirming the gate stops. If the gate continues trying to close while the beam is blocked, the photo eye has failed or the wiring is damaged.
- Check the safety loop. If your gate has a ground loop sensor, test it by pulling a vehicle into the loop area and confirming the gate opens or stays open. A failed loop is often misdiagnosed as a control board problem because the symptoms are similar: the gate opens but doesn’t close, or doesn’t respond to vehicles at all.
- Inspect the keypad and intercom enclosures. Cracked plastic housings let moisture in, and that moisture kills the electronics. Look for UV damage and hairline cracks. If the keypad buttons feel soft or unresponsive, replace the unit before it fails completely.
If any of these checks reveal a problem, don’t attempt board-level repairs unless you have specific training. Control boards are replacement items, not repair items, and probing a live board with a multimeter while standing on wet Tampa ground is a professional’s job. For electric gate repair in Tampa, our technicians handle control board diagnostics, safety loop testing, and surge protection upgrades daily.
Maintenance Documentation: Building a Warranty-Ready History
Most Tampa homeowners don’t keep maintenance records for their gates. Browse more guides & resources to learn about proper gate care. Then a warranty claim gets denied because there’s no proof of service, or a repair takes twice as long because the technician can’t see what was done before. Documentation is the cheapest maintenance you can do.
Here’s how to build a useful maintenance log:
- Create a simple spreadsheet or notes document. Columns: Date, Action Taken, Product Used, Findings, Next Due Date. A notes app on your phone works. A spiral notebook in the garage works too. What matters is consistency.
- Log every lubrication. Note the product name exactly. If you switch products, log that too. A future technician can spot that a particular lubricant is not holding up and recommend a better match for your specific hinges or track type.
- Log every electrical test. Record what you tested, the result, and the date. A history of clean quarterly electrical checks makes a warranty claim for a control board failure stronger.
- Log every abnormal finding. A squeak, a sag, a delay in auto-close. Write it down even if you’re not acting on it yet. These early warnings are diagnostic gold for a technician who’s trying to trace a problem back to its origin.
- Photograph anything unusual. A hinge that looks different, a gap at the post base, corrosion starting on a bracket. Photos with timestamps create a visual timeline that the written log can’t convey.
- Keep warranty documents with the log. When a warranty claim is filed, your maintenance log plus the original warranty can be the difference between coverage and denial. Most warranty disputes come down to documentation, not the mechanical failure itself.
This documentation habit also saves you money on service calls. When a technician from a gate specialist arrives and sees a complete log, diagnosis is faster because there’s a baseline. The owner at Tampa Gate Company home has seen documentation turn a three-visit mystery into a one-hour repair.
Common Mistakes to Avoid
- Using lubricant without cleaning first. Spraying fresh lube over old, gritty residue doesn’t fix anything. The dirt stays suspended in the old lubricant and continues to act as an abrasive. Clean the pivot or roller first with a dry cloth, then apply the lubricant.
- Ignoring a slow-responding gate. A gate that hesitates before opening or closing is not “just being slow.” It’s usually a failing capacitor, a weakening battery, or a control board whose relays are degrading. The problem is cheaper to fix early than during a failure.
- Forcing a gate that’s binding. If the gate won’t move smoothly by hand, don’t keep running it with the opener. The opener is now carrying the extra load, and that burns out motors and strips gears. Disengage and find the source of the binding.
- Over-lubricating. More is not better. Excess lubricant creates a sticky surface that collects debris faster. A thin, even coat is the goal. If lubricant is dripping off the hinge, you used four times too much.
- Skipping the post-storm inspection. After a Tampa storm, the instinct is to just see if the gate works. Don’t. Wet control boards, shifted posts, and debris in the track all need attention before the first automatic cycle. Powering up a wet board is the quickest way to destroy it.
- Replacing instead of repairing. Many gate problems that look terminal are actually simple fixes: a failed capacitor, a dirty photo eye, a loose wire, a worn roller. A repair-first approach saves significant money. For honest assessments of whether a repair or replacement is right, see Gate Repair in Tampa.
- Using indoor-grade extension cords for the opener. If your gate opener is on an extension cord, replace it with an outdoor-rated cord permanently installed. Indoor cords crack and short out in Tampa’s sun and humidity, and the voltage drop from a long, thin cord strains the opener’s motor.
When to Call a Professional
Some maintenance tasks are DIY-appropriate. Cleaning, visual inspection, lubrication, manual operation testing, and documentation all belong in the homeowner’s hands. But certain situations need a trained eye and proper tools. Call a professional when the control board shows moisture or corrosion, when the gate has shifted more than a quarter-inch at the posts, when the gate trips a breaker, when safety sensors fail to respond, when the motor runs but the gate doesn’t move, or when you hear unusual noises from the opener itself. These symptoms indicate failures inside electrical or structural systems that a homeowner should not probe. Tampa Gate Company offers free estimates in Tampa – call (866) 976-0095 for a diagnosis. We handle gate issues for homeowners, property managers, and businesses across the area, and our technicians arrive with the right parts knowledge for LiftMaster, FAAC, BFT, Linear, Viking, Ghost Controls, DoorKing, Elite, and Mighty Mule systems.
Frequently Asked Questions
In Tampa’s heat and humidity, lubricate hinges, rollers, and opener pivot points every 90 days using a heavy-duty silicone spray for hinges and a marine-grade lithium grease for slide gate tracks. The humid climate breaks down standard lubricants faster than the national average, so quarterly service is the minimum interval.
Before a hurricane arrives in Tampa, disengage the opener and set the gate to manual mode, secure the gate in either the open or closed position with a heavy strap or chain, clear drainage around the gate posts, verify the post anchors are solid, photograph the entire gate system, and turn off the breaker to the opener. This sequence prevents wind damage to the opener internals and protects the control board from surge damage.
Yes. Lightning-induced surges travel through the power grid and the ground, and a gate’s low-voltage wiring acts as an antenna. Tampa’s lightning frequency makes surge protection and proper grounding essential. Check your surge protector’s indicator light quarterly and replace it immediately if it’s dark.
Look for a visible gap between the post base and the surrounding concrete, a gate that sags at the far corner, a track that’s out of alignment, or resistance when operating the gate manually. Post settlement after heavy rain in Tampa’s sandy soil is common and requires professional re-anchoring before further damage occurs.
Most gate failures are repairable. Common issues like failed capacitors, dirty photo eyes, worn rollers, and loose connections all respond well to repair. Replacement is only the right call when the structural frame is rusted through, the posts are compromised, or the opener has reached the end of its service life. A repair-first evaluation saves most homeowners significant money. For Electric Gate Repair in Tampa, we diagnose before recommending any replacement.
Keep a dated log of every lubrication, electrical test, and abnormal finding, along with photos of anything unusual. Store the original warranty documents with the log. This creates a complete maintenance history that supports warranty claims and speeds up future repairs. Most denied warranty claims fail because of missing documentation, not mechanical failure.
Automated gates add security, convenience, and property value, especially in Tampa neighborhoods where privacy and controlled access matter. The investment is more than the motor. A complete Gate Installation in Tampa includes the opener, safety sensors, access controls, and proper wiring. If you’re considering an upgrade, start with a free site assessment to see what your property needs.
The Bottom Line
A Tampa gate needs a maintenance routine built for Florida’s climate, not a generic checklist from a national website. The monthly pass catches physical wear before it compounds. The quarterly service keeps lubrication fresh and electrical systems protected. The pre-hurricane and post-storm sequences are non-negotiable in this region. Documentation turns maintenance from a chore into an asset that supports warranty claims and speeds up professional service. If your gate is already showing signs of trouble, don’t guess. A specialist who works on gates every day can diagnose the problem faster and fix it correctly the first time. Tampa Gate Company provides gate repair, electric gate repair, and gate installation across the Tampa area. Call (866) 976-0095 for a free estimate and a straight answer about your gate.
Written by the team at Tampa Gate Company, serving Tampa since 2013.
See the difference
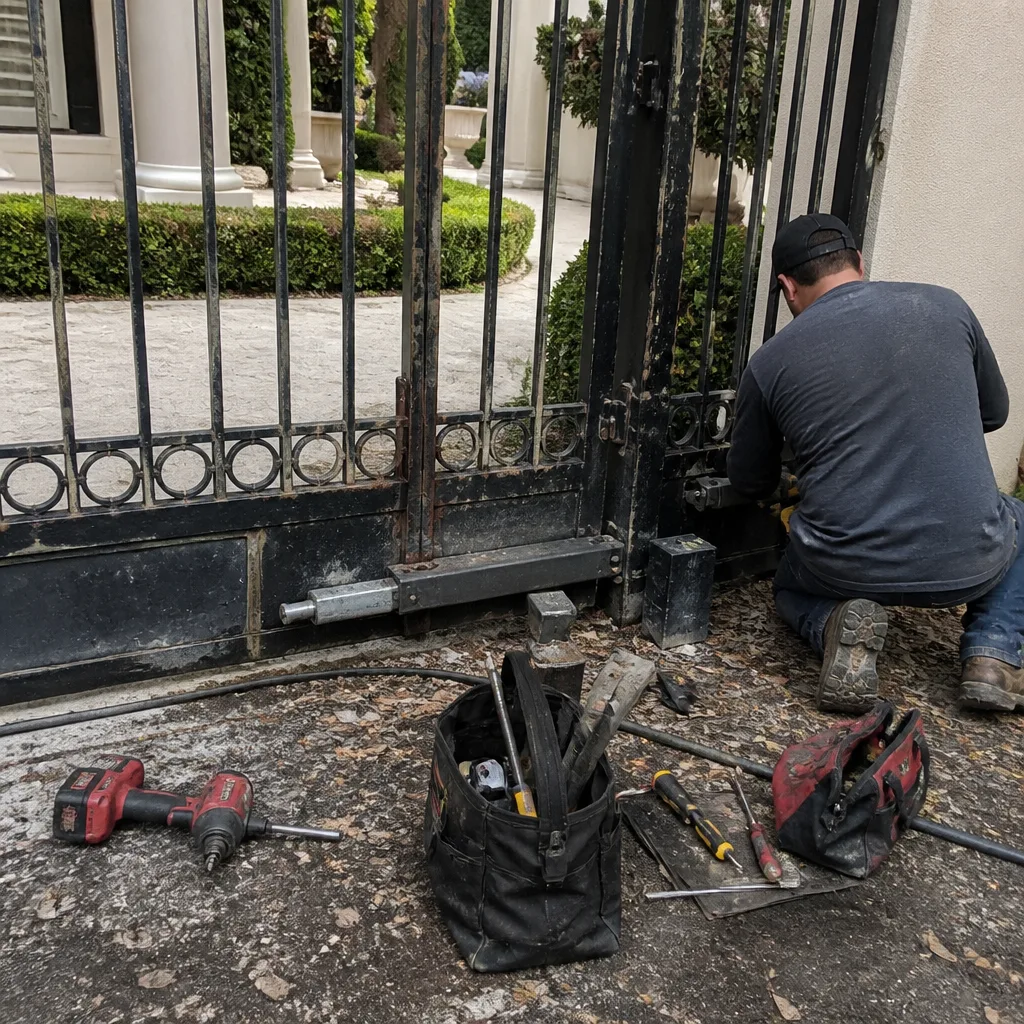 Before
 After
 Before
 After
 Before
 After